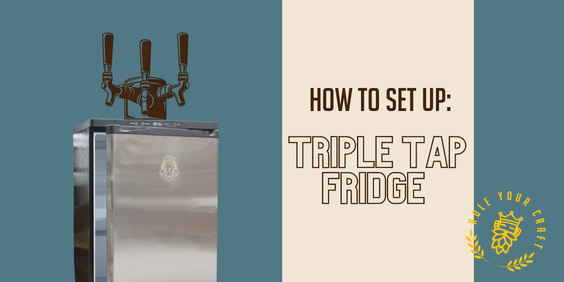
Setting Up a Keg King Master XL Kegerator Fridge
You’ve bought yourself a new King King Kegerator Fridge - excellent choice Legend.
How do you set it up?
It’s pretty easy.
All the gear comes pre lined with push fittings, so it’s easy to click together.
Let us show you how it’s done with a 3 tap fridge (It’s the same process for the single, double and quad tap fridge - there’s just a different number of taps)
Before you start - get organised.
- Unbox the fridge, removing all the packaging
- Check to make sure you have all the components (dets are in the instruction manual)
- Grab a phillips head screwdriver, multigrips or pliers and a pair of scissors
- Fill a spray bottle with soapy water
Attach the Font
- Remove the little black cover on top of the keg (this comes with the fridge to fill the gap in on the top during transport)
- Grab your font and taps - they all come pre-assembled with beer lines
- Remove the 4 screws on the top of the fridge (you’ll need these at Step 6)
- Get your beer lines and put them down through the hole that is in the top of the fridge (ensure that the black gasket goes in through the beer lines, that will sit between the top of the fridge and the font)
- Line up the holes in the base of the font with the holes in the top of the fridge
- Screw on the font using the 4 screws provided
- Next screw the beer taps and handles onto the font
Connect the pushfits and disconnects
- Screw the little light grey push fits onto your black and grey disconnects
- Push the ends of the beer lines into the little grey push fittings connected to the black beer disconnect (tug on them to make sure they are secure once done)
- Nip your push fits by using a pair of pliers or multi-grips to tighten (don’t over tighten)
- Repeat that same process with the grey gas disconnects
- Remove screw at the back of the fridge
- Feed gas line (that will be connected to your regulator) through that hole on the back of the fridge
Pro Tip for Disconnects
Black = Beer
Grey = Gas
Don’t F**ck it up
Setting up the gas
- Install the ‘one way check valve,’ (the valve is there to make sure you don't draw back any beer into your gas line), follow the arrow that is printed on the one way check valve (this is the way your gas is going to go) and push your lines into the check valve (make sure they are secure)
- Screw the little grey push fitting onto the regulator and nip it up to tighten
- Connect the gas line into the regulator (make sure that line is also secure)
- Screw the regulator onto your gas bottle, making sure that the ‘O Ring’ is in place
- Secure the regulator onto the gas bottle by using multi-grips or pliers (don't over tighten)
- Wind regulator anticlockwise, so that it is nice and loose
- Turn gas bottle and confirm that you have pressure in your gas bottle (the high pressure gauge should sit at around 5000kpa)
Final Set Up
- Once confirmed that you have pressure in your gas bottle, turn your regulator clockwise until you feel the screw engage, releasing gas at low pressure
- Spray all your connections and your lines (with a spray bottle filled with water and detergent) to check for leaks
- Feed your font cooling line up the font and cut to size
- Pop your cap back on the top of your font to keep the cool air inside (an sleep your beer cold)
- Put your tap covers on
- Place drip tray on top
- Connect the kegs to the fridge using the disconnects (remember grey for gas black for beer). In is for gas and out is for beer. The keg posts have notches for the gas side (don’t mix them up)
- Once kegs are connected up spray with soap water to make sure you haven't got any leaks
- Place everything into the fridge
- Turn the fridge (set the temp to around 3-4 degrees)
- Congratulations - your done (and are now set ready to serve cold beer on tap at home!)
